


It has been 20 years since Apple introduced the MacBook series—their vision for mobile computing powered by Intel processors. To this day, the form factor remains fundamentally unchanged: a clamshell device that integrates both the display and the keyboard.
But as the saying goes, what truly matters is on the inside—specifically, the internal design choices and adhesive selections Apple has made over the years. Whether you are troubleshooting an issue with a MacBook, MacBook Pro, or MacBook Air, we have compiled some pre-repair tips just for you.
This article will outline your options for repairing key components of your Mac laptop, such as replacing the battery, display, and other modules. We will also discuss available options for storage and memory upgrades. Get ready to start repairing!
Get to Know Your MacBook
Although Apple releases new products every year, significant changes regarding repairability have occurred in distinct phases: the era of unibody enclosures—characterized by early adoption of modular and upgradable designs; the 2016–2019 period, marked by a pursuit of thinness and lightness at any cost; and the Apple Silicon era, which includes the redesigned MacBook Air and the new MacBook Pro models launched in 2021. This article will focus specifically on the MacBook Air and MacBook Pro—primarily because it has been over 15 years since the release of the last truly repairable “standard” MacBook model.
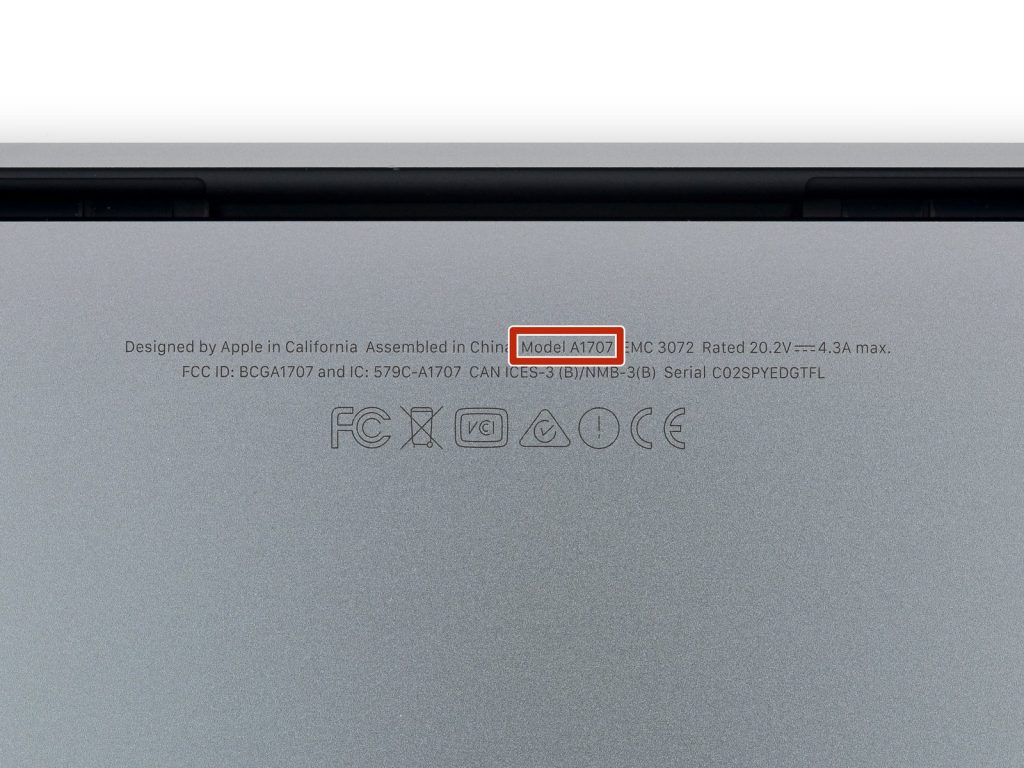
Distinguishing between different MacBook models is no easy task—especially when different generations (and their features) overlap—yet it is absolutely crucial for repairs. Subtle differences—such as chip generation, screen size, or even the number of ports—can necessitate entirely different parts and repair procedures. You should always check the model number printed on the bottom case of your MacBook (look for the number beginning with “A####”). You can enter this identifier into our compatibility checker tool, which will tell you whether the part you are looking for is compatible with your device.
If the printed markings have rubbed off but the computer still boots up, your model information can be found in “About This Mac,” located within the Apple menu. Based on the information you obtain there, you can locate the corresponding device page on our Wiki. On that page, you will also find relevant troubleshooting information. Sometimes, you may even be able to resolve the issue without having to replace any components!
Before You Begin
Opening a MacBook is easier than opening most smartphones, but if you do some prep work beforehand, the process will go much more smoothly—and be more enjoyable, too:
If possible, back up your data before performing any repairs. macOS features a built-in backup utility called Time Machine, though you can also simply copy your important files to an external hard drive.
Discharge the battery to 25% and then shut the device down completely. MacBook batteries can have capacities of up to 100 Wh, meaning that if one is accidentally punctured, it carries significant explosive potential. To minimize the risk of a battery fire, discharge the battery as much as possible before you begin the repair. If you are working on a supported model, Apple also offers a convenient battery discharge tool. If the battery appears swollen—a stiff or difficult-to-click trackpad is a telltale sign—we have some tips on how to handle a swollen battery safely.
Read through the repair steps carefully in advance. Go through them one by one, check the comments left by other repairers, and ensure that you have all the necessary tools and parts. There is nothing worse than having to stop a repair halfway through simply because you forgot to gather a required item.
Avoid Getting Ripped Off
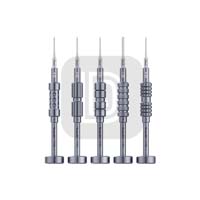
Screws represent the first hardware challenge encountered when repairing Mac laptops: starting with the very first Retina MacBook Pro, Apple abandoned standard Phillips screws. In their place, they introduced Pentalobe screws—five-pointed, star-shaped fasteners designed specifically by Apple for use in its products. You will absolutely need a Pentalobe screwdriver or bit to open the device.
Watch out for hidden clips. Even after removing the Pentalobe screws, the bottom covers of many MacBooks remain secured by internal clips. Use a suction cup and a pry tool to gently disengage them, taking care not to bend the bottom cover in the process.
Internally, MacBooks primarily utilize Torx screws (specifically T3 and T5 sizes), though Apple has recently begun incorporating Torx Plus screws as well. Even though they share the same drive type, these screws can vary in both length and width. It is easy to mix them up, but it is absolutely critical that you do not confuse them. A single misplaced screw can easily cause a short circuit that disables the entire system; therefore, be sure to label your screws during the disassembly process—otherwise, you will face an excruciatingly painful matching game when it comes time to reassemble the device.

Batteries: The Repair Issues You Are Most Likely to Encounter
All batteries degrade over time; an aging battery will eventually cause a laptop to lose its portability, rendering it usable only when plugged into a wall outlet.
When replacing the battery in an Early 2015 MacBook Pro, an adhesive remover is your best friend.
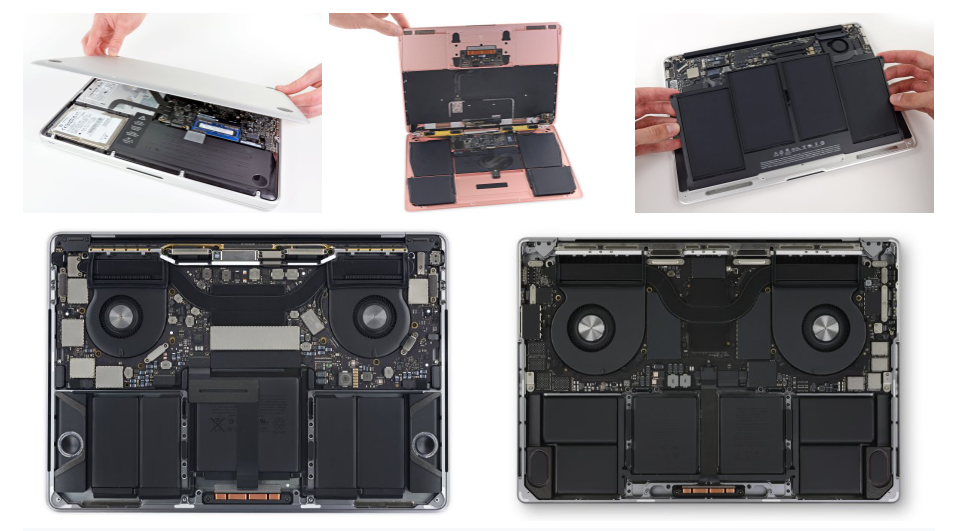
The difficulty of the repair depends entirely on your specific model. Repairs on models with a unibody enclosure are quite straightforward: simply unscrew the battery, remove it, and install the replacement. However, Retina models are a completely different story: the battery is bonded to the top case with strong adhesive and lacks pull-tabs; consequently, removing it requires the use of solvents—a process that, if not handled with extreme care, can easily damage the plastic speaker enclosures. Therefore, it is best to come prepared with adhesive remover, plastic spudgers, and plenty of patience.
Starting in 2021, the situation improved once again: MacBook Pro models began featuring adhesive pull-tabs, and the battery was relocated from beneath the logic board. On M5 models, replacing the battery requires nothing more than removing the bottom cover and disconnecting a single cable. MacBook Air models (M2 and newer) utilize stretch-release adhesive and a screw-secured battery tray.
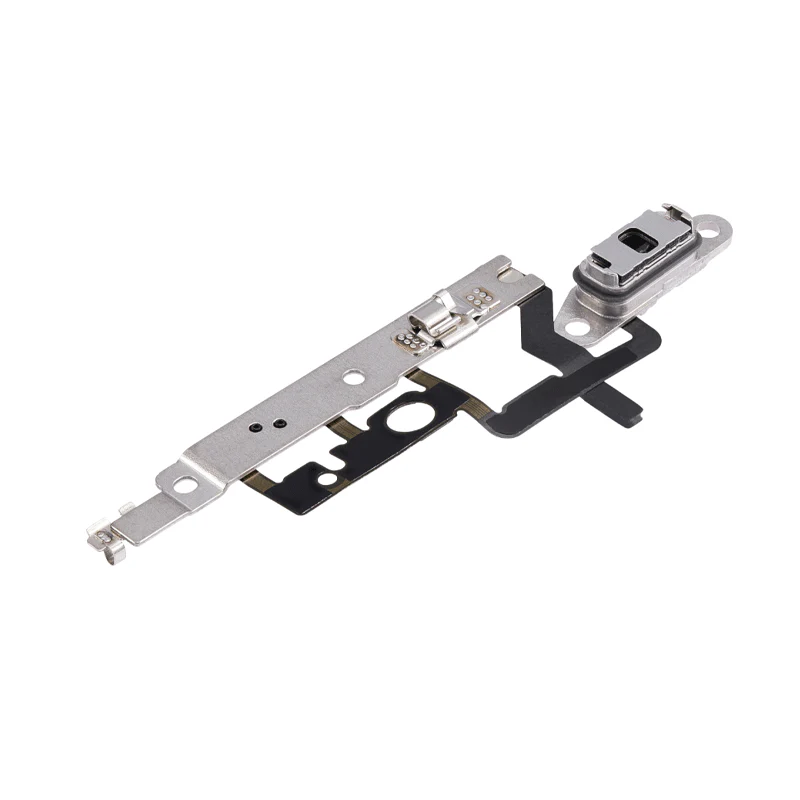
When replacing the battery, pay close attention to the trackpad cable. On certain models, this cable runs directly over the battery and is quite fragile.
A special note of caution: Apple’s excessive reliance on adhesives—combined with a general lack of trust in independent repair technicians—has resulted in unexpectedly high costs for battery replacements performed through “official channels.” If you are comfortable performing the repair yourself, the third-party batteries available in our parts store offer a more affordable and eco-friendly alternative; furthermore, our repair kits include every tool you will need to get the job done.
Display: Easier than before.
When it comes to screen replacement, the pre-Retina Unibody models are the easiest to handle: the display panel can be detached directly from the lid assembly. The Retina MacBook Pro models from 2012 to 2015, however, are more complex: the display cables run through the hinge, and the removal process requires carefully disconnecting several antenna cables. Although there are more steps involved, the task remains entirely doable.

Models from the 2016–2017 era suffer from a notorious flaw: Apple utilized display flex cables that were too short. This design oversight caused the cables to fray and snap during the normal opening and closing of the lid—a widespread issue that users dubbed “Flexgate.” If you are replacing the display on these specific models, it is imperative that you use the improved, longer flex cables; otherwise, you will soon find yourself having to disassemble the device all over again. The Retina MacBook Air suffers from a similar issue, as its Wi-Fi antenna cables run through the hinge assembly and require careful rerouting.
MacBook Pro models released in 2021 and later feature a significantly simplified design. Thanks to a redesigned cable layout and a single-cable connection scheme, replacing the display has become one of the simplest repair procedures on these machines.
However, hardware is not the only source of trouble. The true sticking point with Apple Silicon MacBooks lies in the software. Replacing the display renders the True Tone feature inoperable, and—unless you run Apple’s Repair Assistant software to pair the new panel with the Mac—you will encounter display anomalies. Similar issues regarding functionality also arise with Touch ID following the replacement of certain components.
While Apple’s pairing and diagnostic tools have improved significantly over the years, they remain imperfect. Therefore, before embarking on any repair involving the display or biometric components, ensure that you are running the specific macOS version required for the procedure to avoid any unexpected complications.
Storage and Memory: A Tale of Diminishing Access
If there is one aspect of MacBook repairability that has steadily deteriorated over time, it is upgradability.
In this regard, the era preceding the Retina unibody models (2008–2012) stands as the gold standard. The RAM resided in standard SO-DIMM slots, accessible behind a panel that could be opened with a Phillips screwdriver; storage consisted of standard 2.5-inch SATA hard drives, which could be replaced in a matter of minutes.

The design of the Retina MacBook Pro (2012–2015 models) began to trend toward greater compactness. The RAM was soldered directly onto the motherboard. Storage remained slot-based, though it utilized Apple’s proprietary PCIe SSD modules. These were not standard M.2 SSDs; however, they were at least removable—meaning that if you could source a compatible module (or adapter), you could still replace a failed drive or upgrade to a higher-capacity one. The 2015 MacBook Pro was the final model to feature this design.
The design of the Retina MacBook Pro (2012–2015 models) began to trend toward greater compactness. The RAM was soldered directly onto the motherboard. Storage remained slot-based, though it utilized Apple’s proprietary PCIe SSD modules. These were not standard M.2 SSDs; however, they were at least removable—meaning that if you could source a compatible module (or adapter), you could still replace a failed drive or upgrade to a higher-capacity one. The 2015 MacBook Pro was the final model to feature this design.
Other Sections: Mixed Results
Since the era of Retina displays, the keyboards on nearly all MacBooks have been notoriously difficult to remove; secured to the top case by rivets, replacing the keyboard independently is an absolute nightmare, as it requires drilling out those tiny fasteners. Given that Apple’s track record regarding keyboard reliability is far from flawless—remember the Butterfly keyboard?—this is likely not the news you wanted to hear. Reluctant as we are to admit it, our practical advice is this: if you need to replace the keyboard, your best option is to replace the entire top case assembly (which includes the keyboard, battery, trackpad, and speakers).

Replacing the fan in a MacBook Pro is a simple process; it requires nothing more than unscrewing a few fasteners and disconnecting a single cable. If your fan is making a noise reminiscent of a jet engine, try cleaning it first; dust accumulation is typically the culprit. MacBook Air models equipped with Apple Silicon chips are fanless. While this eliminates a potential point of failure, these devices do tend to run hotter during periods of sustained, heavy workload.
The port design on Apple Silicon-based Mac laptops is a major highlight: the USB-C ports, MagSafe port, and headphone jack all feature a modular design rather than being permanently bonded in place. Although the speakers are bonded, they can be easily removed using isopropyl alcohol.
A story full of twists and turns
The MacBook isn’t the easiest laptop to repair, but the situation isn’t getting any worse. Just a few years ago, pull-tabs, modular ports, official manuals, and self-service repair programs were all unimaginable—but Right to Repair legislation, along with users like you, have been pushing manufacturers in the right direction. With the right tools and a little courage, you can keep your MacBook running for years—even well beyond Apple’s own projected lifespan. Plus, doing it yourself saves money!